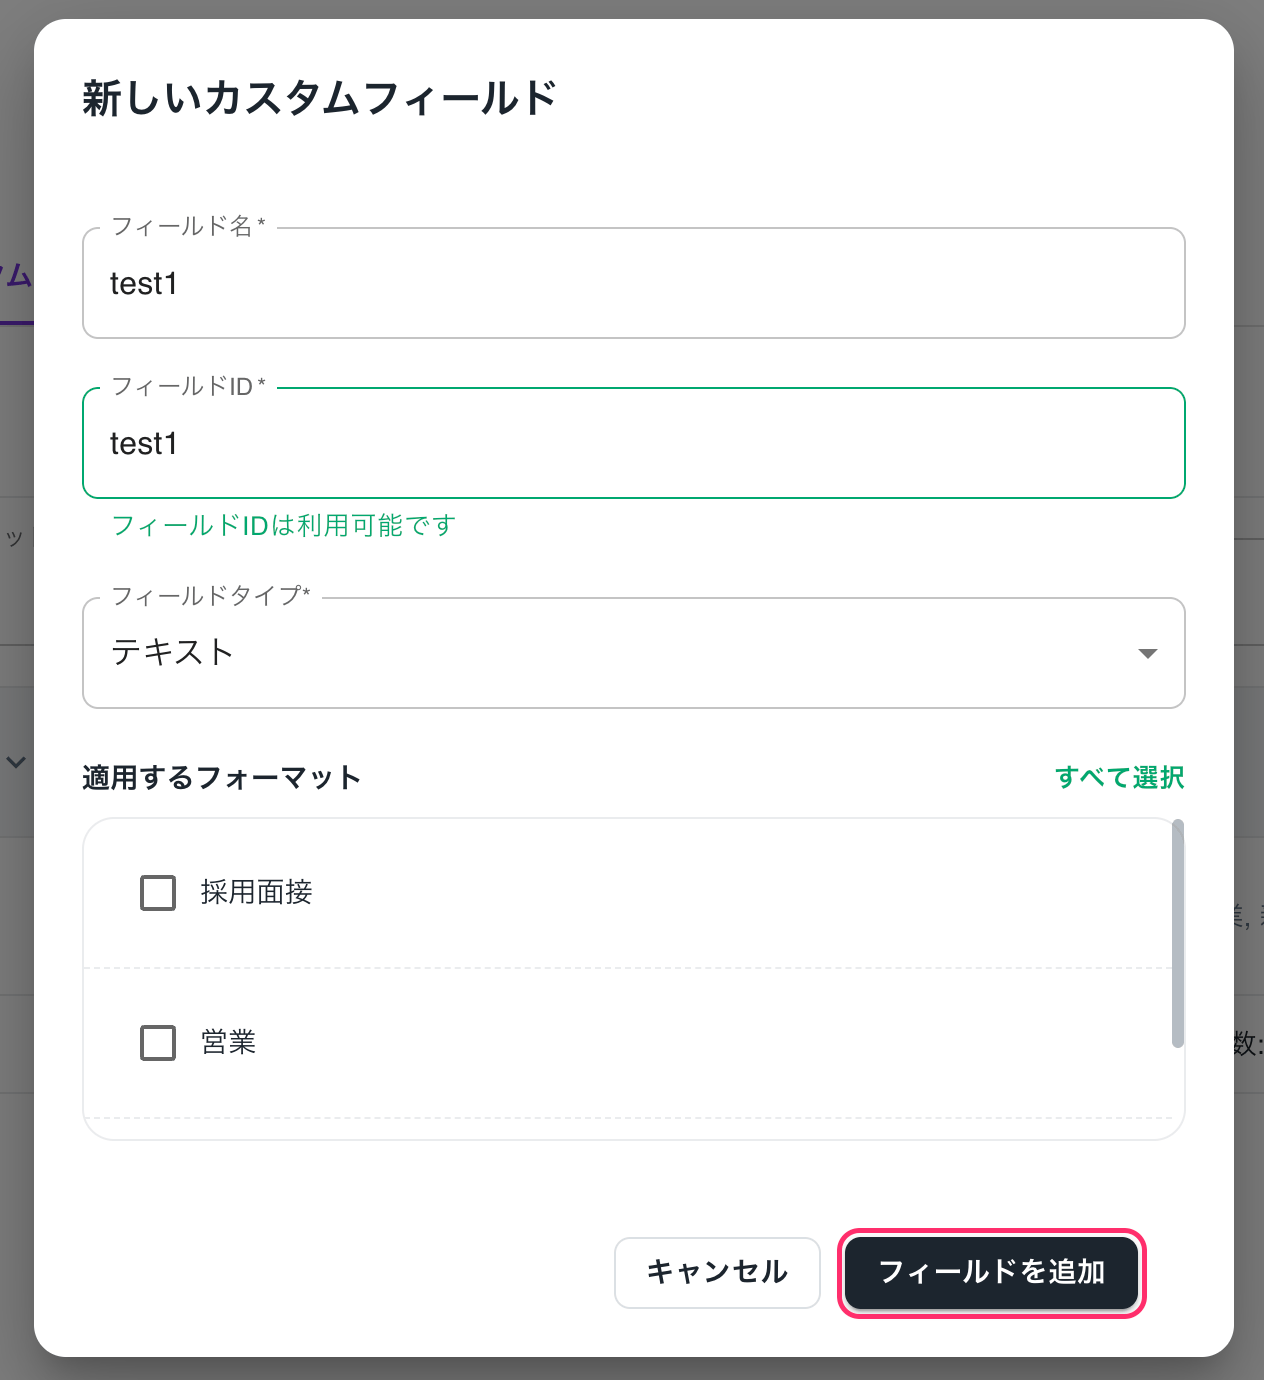

In the editor, you can set the format, prompts, and custom fields for meeting summaries.
Things to Check in Advance
- Decide what type of summary you want to output (e.g., decisions, ToDos, risks, etc.).
Steps: Open the Editor
- Open the [Editor] screen.
- Click on [Format] → [+ New Format].\
- Enter the format name and click [Create].
Create a Prompt
A prompt defines how to structure the summary with blocks for the created format. By writing instructions for each block, the AI will generate the summary in that format.
- Open [Prompt] and select the format you want to edit.
- Choose how to use the template.
- Use the default template as is
- Add custom blocks based on the default template
- Construct using only custom blocks without a template
- Select the type of blocks to add.
- Plain Text
- Bullet Points
- Numbered List
- Table with Borders
- Enter more detailed instructions in the box below the block.
- Example: Please summarize the issues and needs gathered from the customer in bullet points.
- Example: Please provide a summary of the entire meeting and the most important points.
- Check the summary preview in [Preview].
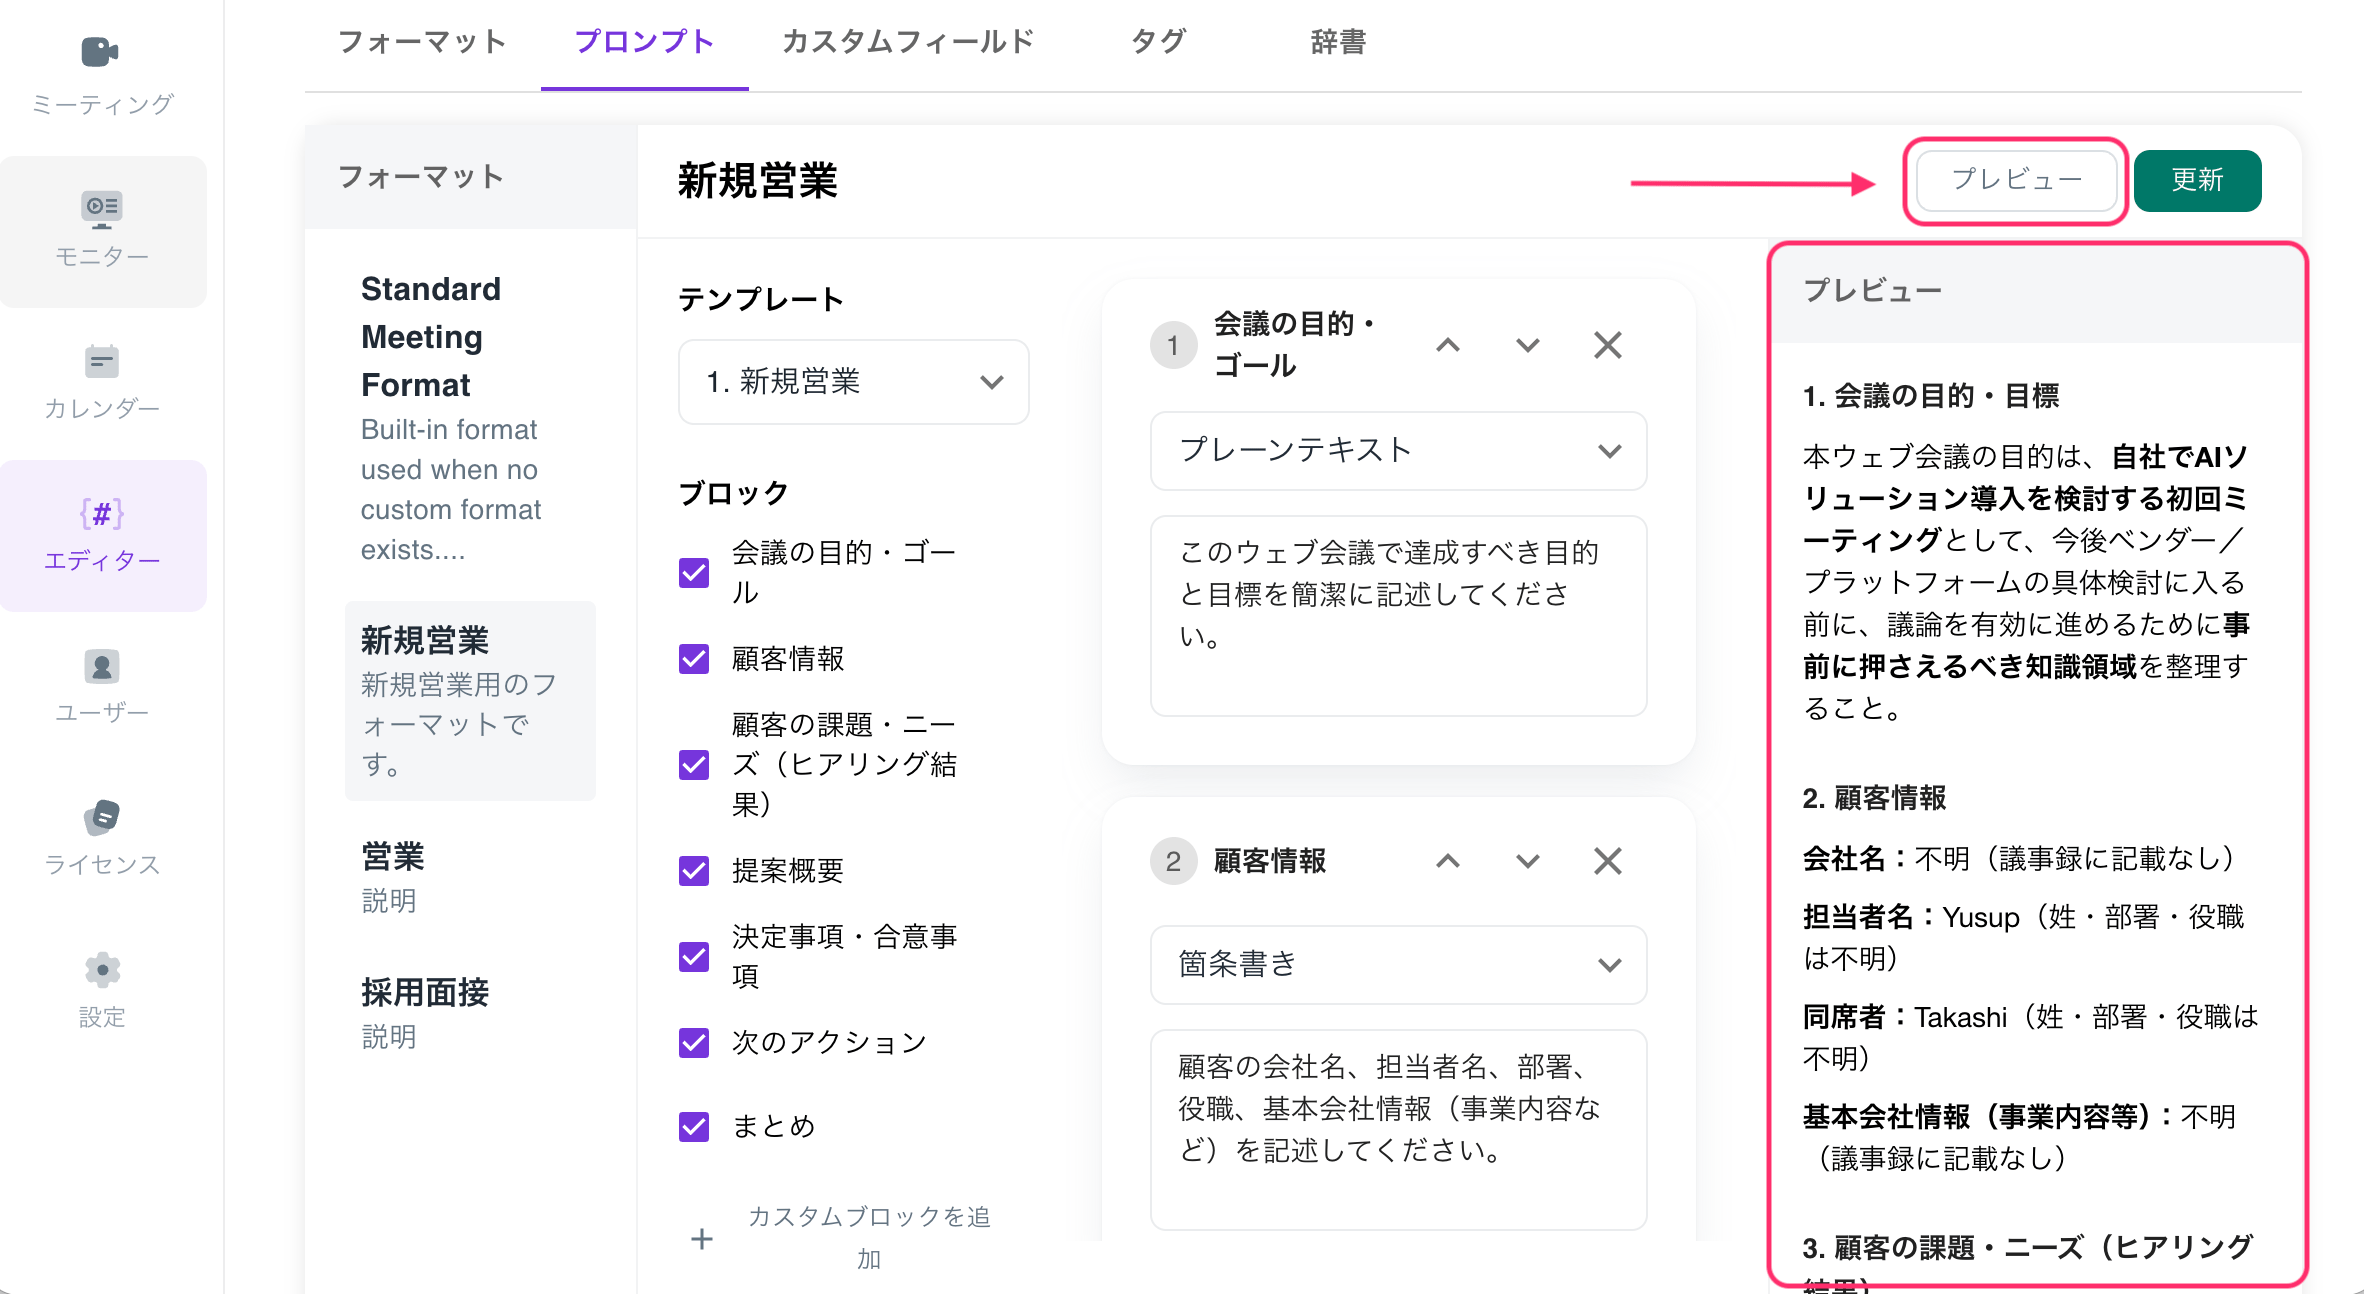
- If everything looks good, click [Update] to finish.
The default template cannot be added to, deleted, or edited. Please select a template and edit the content as needed.
Select a Format in the Meeting
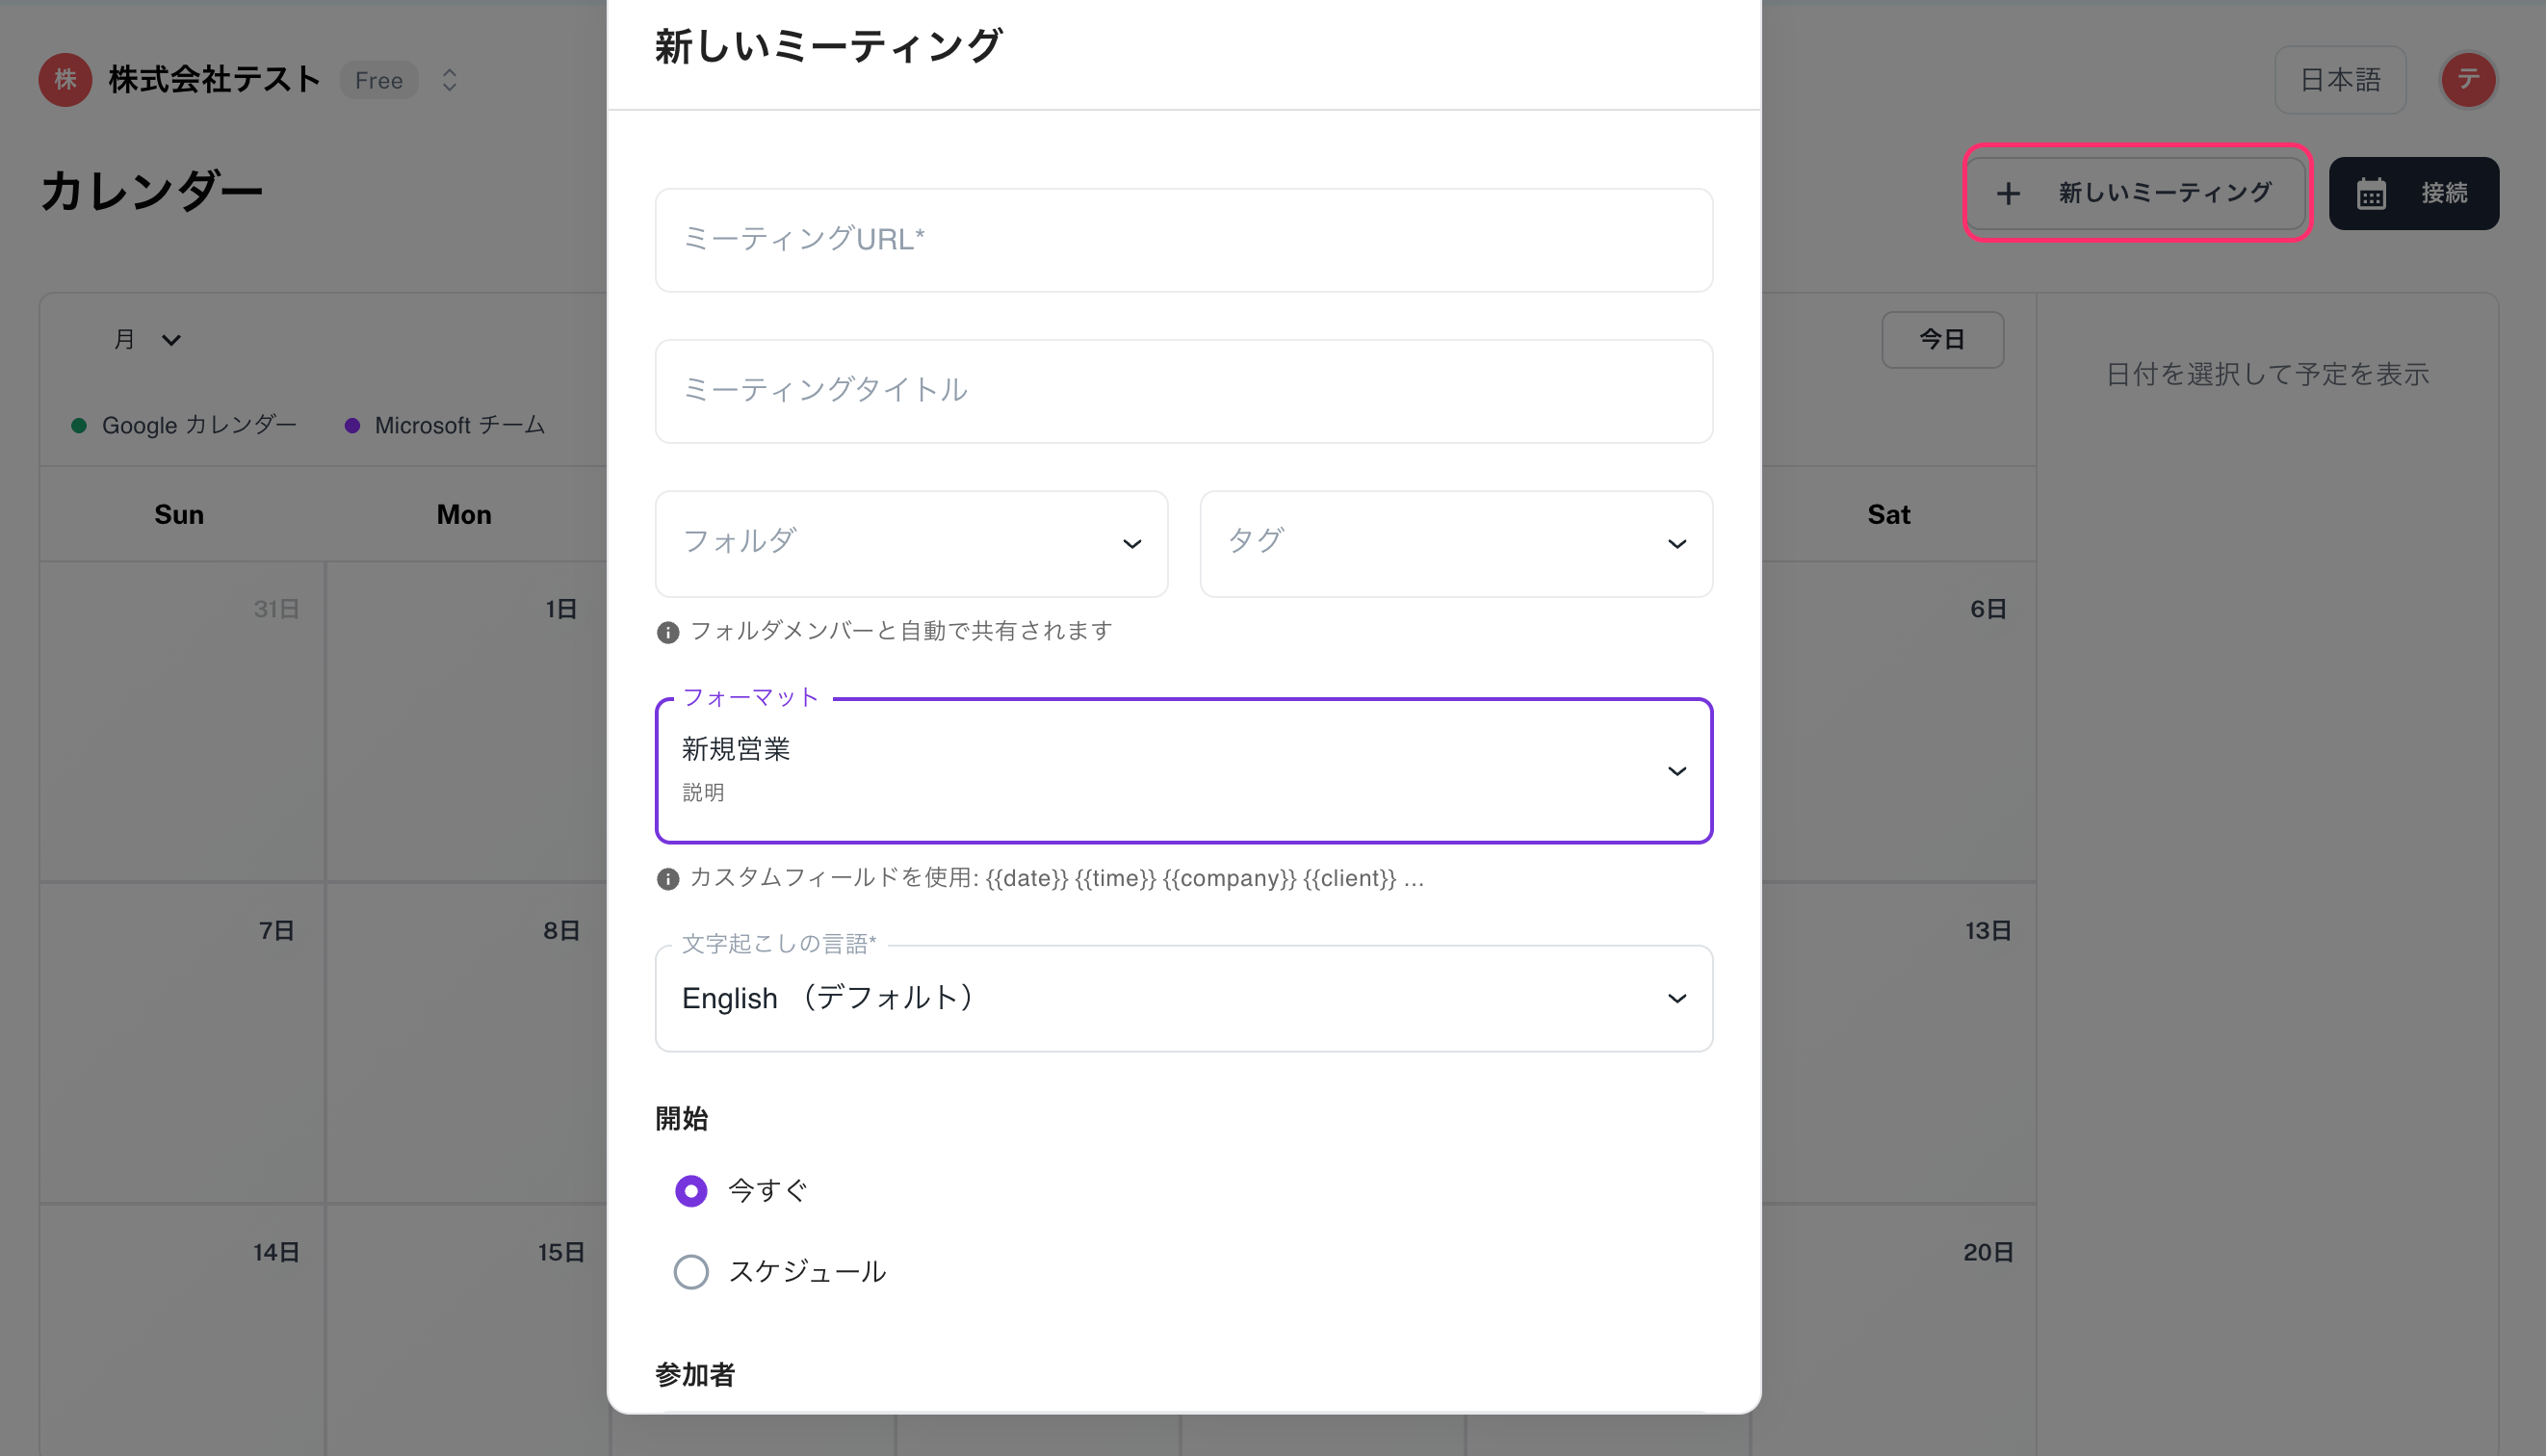
- Open the calendar and click on [+ New Meeting] (or the relevant meeting).
- Select the format you created in [Format] and update it.\
Set Up Custom Fields (Optional)
Custom fields are defined items for integration with external tools like Salesforce (e.g., project name, product, deal stage, etc.). This is a separate function from the AI summary blocks.
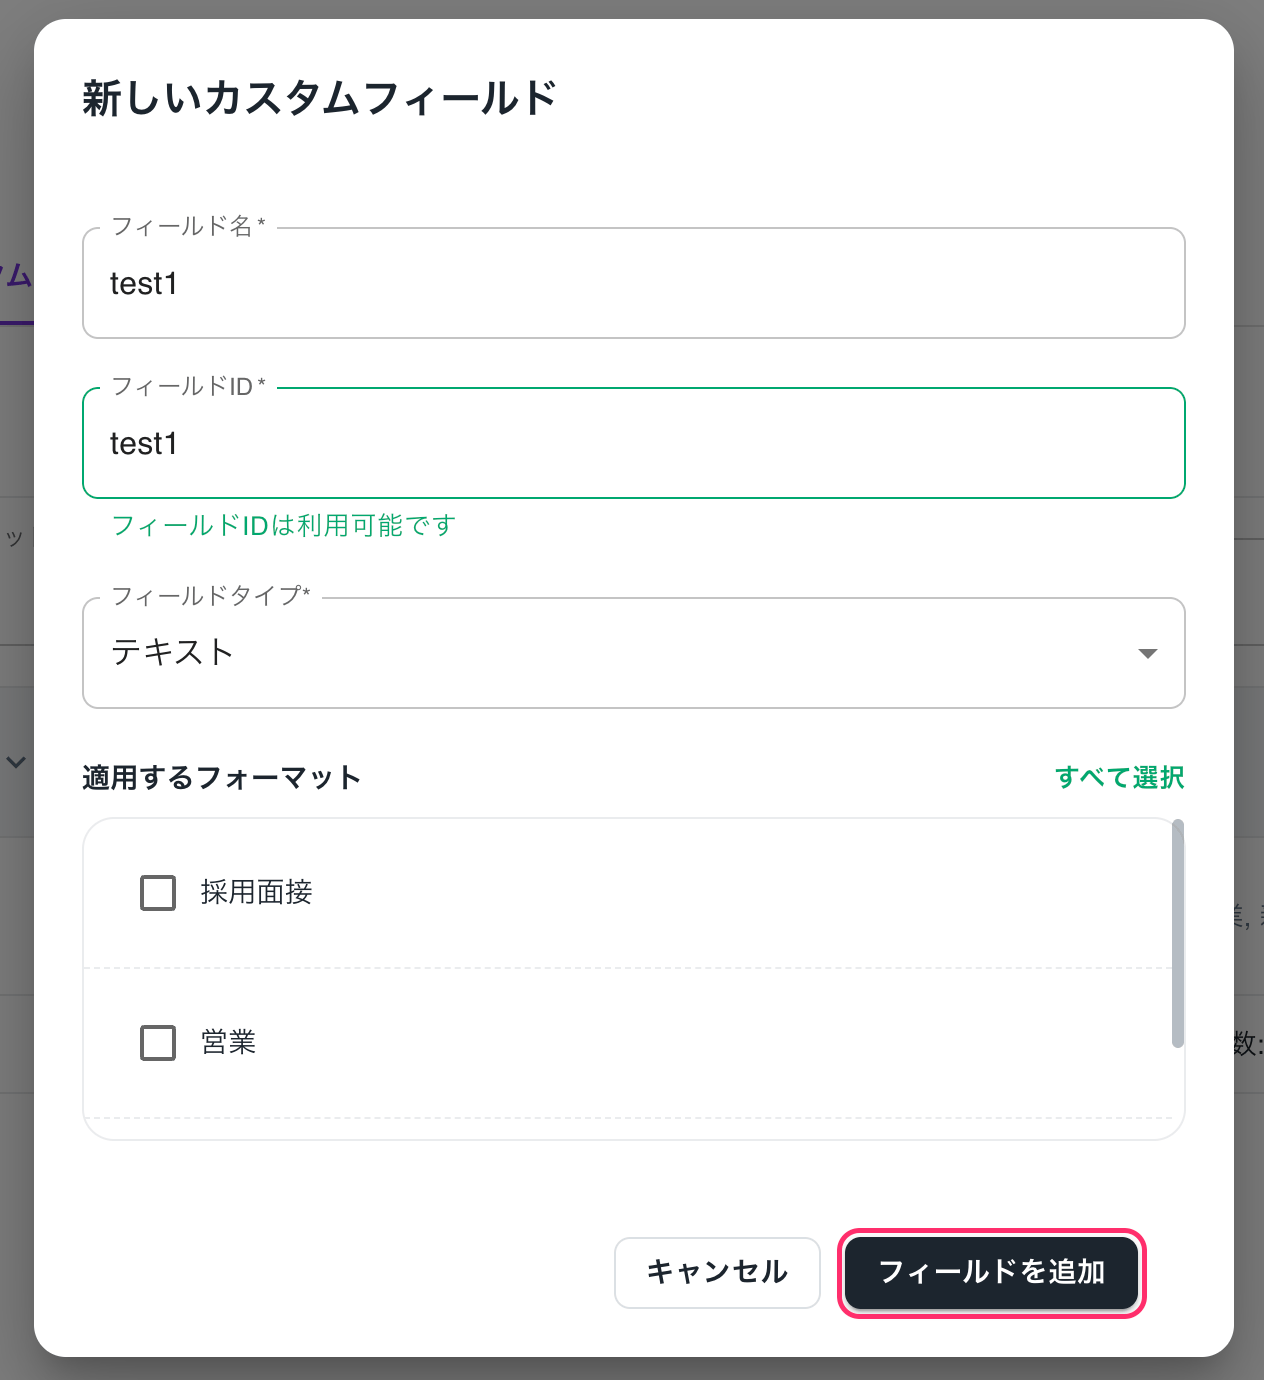
- Open [Custom Fields] in the editor.
- Click on [+ New Field].
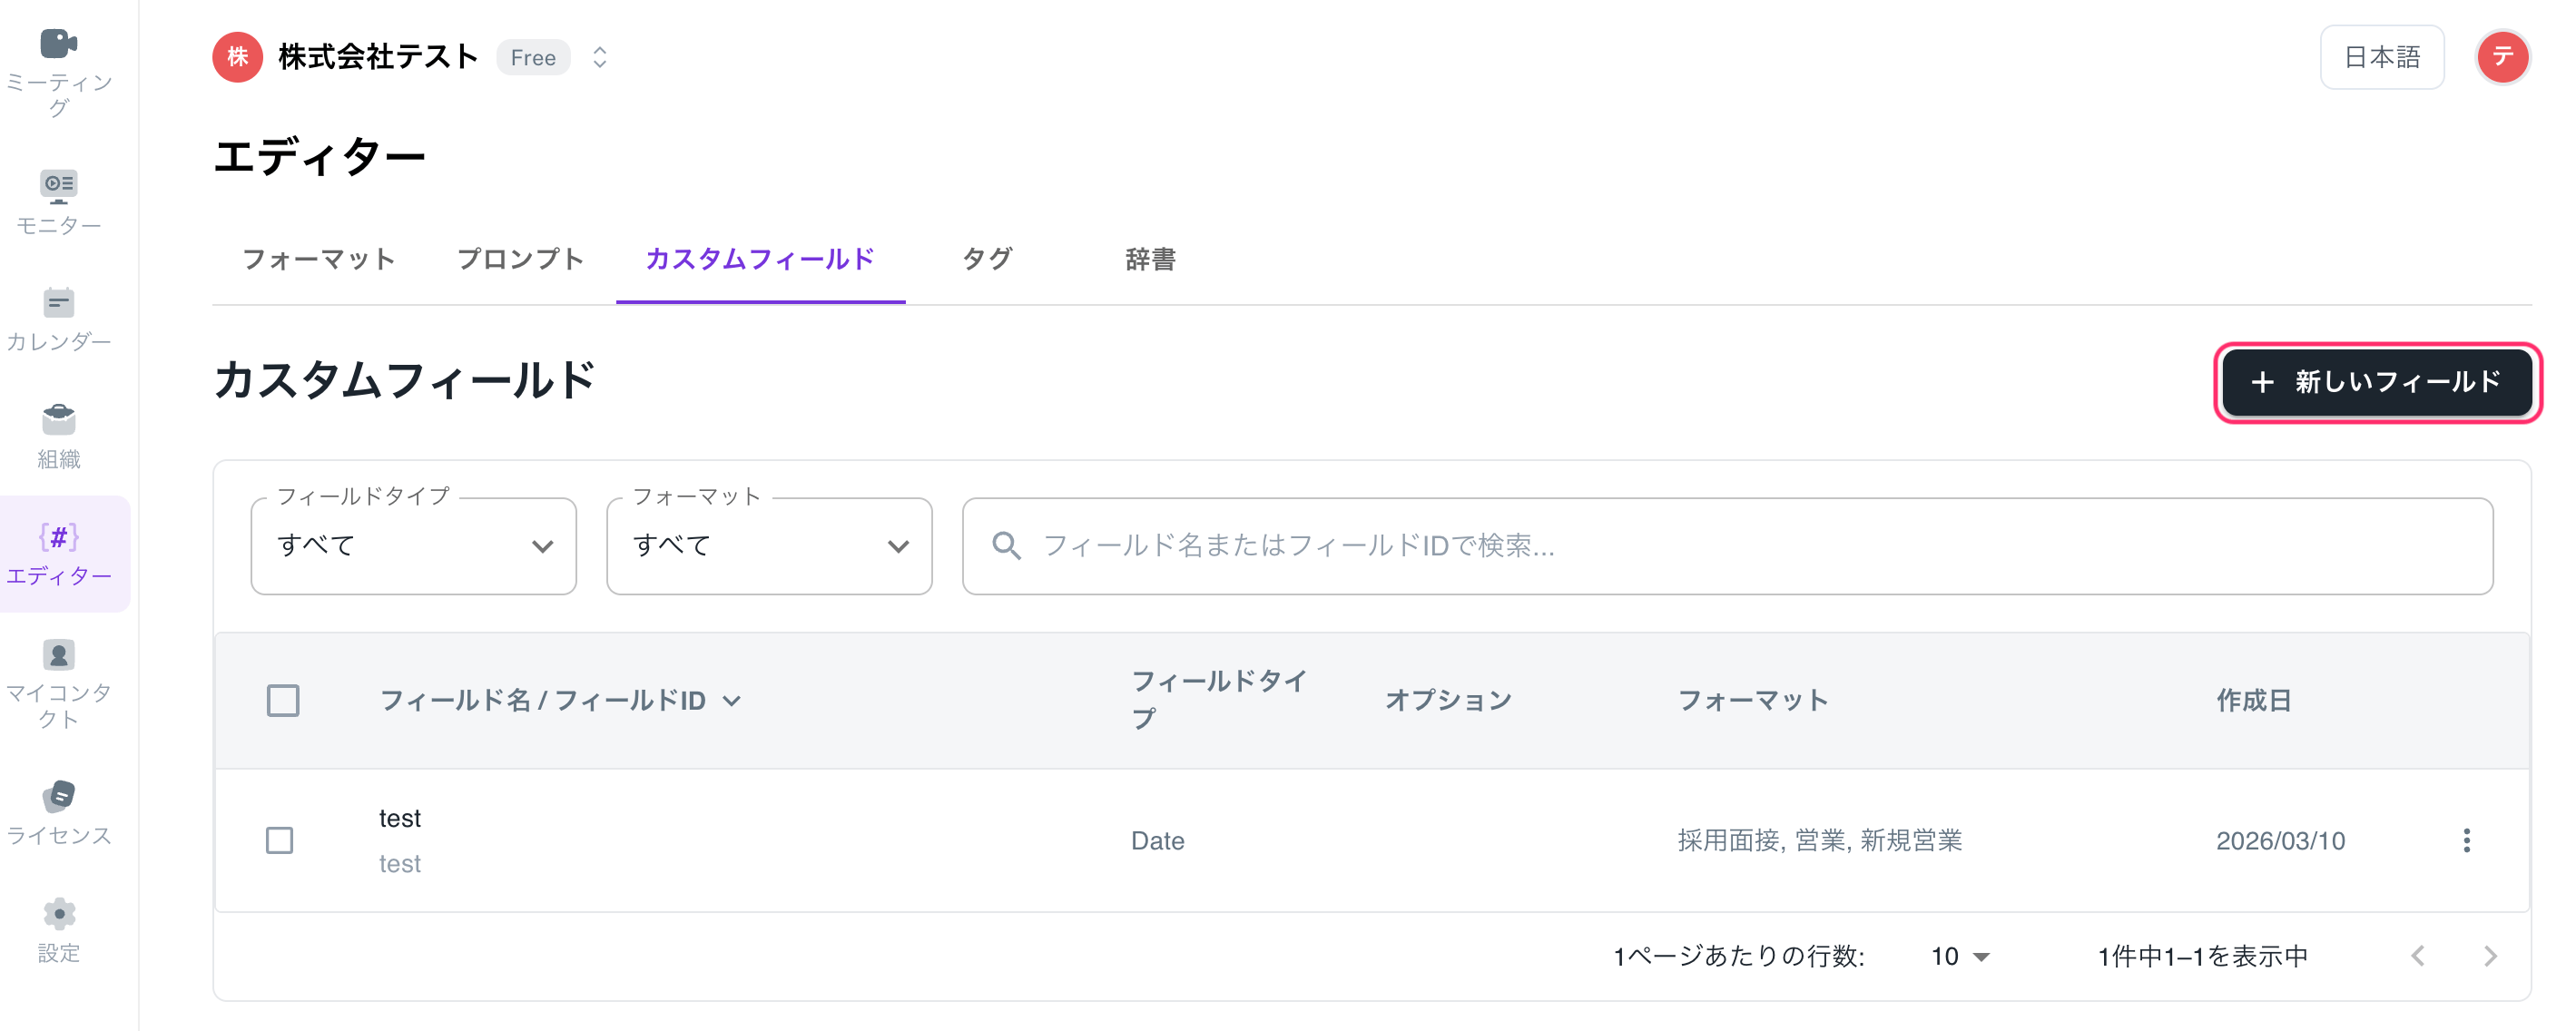
- Set the field name, field ID, and field type, and select the applicable format.
- Click [Add Field] to finish.\